6 Reasons to Book a Roof Inspection
A roof inspection on the Northern Beaches is a practical way to catch leaks, corrosion, loose fixings and drainage issues before they turn into structural repairs. In coastal suburbs like Newport and Palm Beach, salt, wind and sudden storm cells can shorten the gap between a small defect and a costly call-out.
TL;DR: Summary
Book a roof inspection on the Northern Beaches because coastal salt, severe thunderstorms and roof-access safety risks make early fault detection safer and cheaper than reactive repairs.
SafeWork NSW advises roof work should be planned from the ground where possible, with roof condition, materials, fixings and safety mesh checked before access.
BOM severe thunderstorms can include hail of 2 cm or more, wind gusts of 90 km/h or more, tornadoes, or heavy rainfall that may cause flash flooding, so post-storm inspections are worth doing even when leaks are not yet visible indoors.
NSW Environment notes concentrated salts can reduce the durability of some building materials, which matters for coastal roofs, gutters, flashings, sealants and surface coatings as a connected system.
A useful inspection should identify urgent faults, separate repair from maintenance items, and give clear evidence such as photos or video so owners can decide whether to repair, restore, or replace.
A good inspection also solves a safety problem, not just a maintenance one. SafeWork NSW states that falls from heights remain the leading killer on NSW construction sites, so proper inspections start with planning, evidence gathering and controlled access, not a casual walk on the roof.
Why is a roof inspection more important on the Northern Beaches?
Yes. On the Northern Beaches, BOM storm patterns and NSW Environment salt exposure make roof inspections more valuable than in many inland suburbs.
Coastal homes deal with a harder mix of conditions. Salt-laden air can accelerate wear on metal components, while heavy rain, damaging wind gusts and large hail can loosen sheets, dislodge ridge elements, overwhelm gutters and expose flashing details around chimneys, skylights and vents. A defect that stays minor in a sheltered suburb can spread much faster when sea air and repeated storms are involved.
"Cloud9 Roofing & Guttering carries $20M insurance cover and holds licence 303413C, which matters when inspection work can lead to roof-access planning and storm repairs."
A common misconception is that salt damage only affects absolute beachfront properties. In practice, airborne salts can affect homes several streets back, especially where roofs are regularly exposed to onshore winds. That is why a roof inspection in Newport or Palm Beach should look beyond obvious leaks and check fixings, gutters, flashings, sealants and surface coatings as a connected system.
How often should you book a roof inspection on the Northern Beaches?
At least yearly is sensible for Newport and Palm Beach homes, and sooner after hail, high winds, or obvious gutter overflow.
For most owner-occupied homes, a professional roof inspection every 12 months is a sound maintenance interval. If the roof is older, close to the coast, shaded by trees, or has a history of leaks, six-month checks can be justified. If a storm has brought hail, wind-driven rain or branch impact, do not wait for a ceiling stain. By then, moisture may already have travelled through insulation, battens or plaster.
A simple rule works well here: if weather was severe enough for you to notice it, it was severe enough to justify a roof check. That is especially true where roofs have skylights, valleys, box gutters, solar penetrations or mixed materials.
Before choosing timing, use these triggers:
After severe weather: book an inspection if BOM warnings involved large hail, damaging winds, flash-flood rain, or coastal hazard conditions.
On older roofs: inspect every 6 to 12 months if fasteners, pointing, coating or gutter joints are already ageing.
Before major works: inspect before solar installation, skylight work, repainting, or a planned re-roof.
What are the 6 strongest reasons to book a roof inspection?
The six best reasons are early leak detection, salt-related wear, storm damage checks, gutter overflow prevention, safer access planning, and better repair timing.
When owners delay inspections, they usually save nothing. The issue simply moves from a targeted repair to water-damaged plaster, insulation, timber or electrical risk. On the Northern Beaches, these are the six reasons that matter most:
Catch early leaks before they spread. Water often enters at flashings, valleys or penetrations long before a stain appears indoors.
Find salt-related corrosion early. Coastal exposure can wear fasteners, flashings and sheet edges before the roof surface looks obviously damaged from the street.
Check storm impact quickly. Hail, wind and driven rain can loosen roof elements in a single weather event.
Prevent gutter and downpipe overflow. Blocked drainage can force water back under roof lines or into fascia areas.
Plan safe access. SafeWork NSW guidance makes pre-access condition checks essential, especially where surfaces may be unstable.
Decide on the right scope. An inspection helps separate a small repair, a roof restoration, and a full replacement based on evidence rather than guesswork.
New roofs need inspections too. A relatively new metal roof can still have loose fixings, poor flashing details, or drainage issues, while an older tile roof may only need targeted repairs if the underlying structure remains sound.
What happens during a professional roof inspection step by step?
A professional roof inspection usually starts at ground level, then moves to internal ceilings, roof space, and only then to external roof surfaces if safe.
Step 1 is visual assessment from the ground. The inspector looks for sagging lines, displaced materials, corrosion, blocked gutters, ponding signs, and likely water-entry points. Step 2 is inside the home or roof space, checking for stains, mould, damp insulation, daylight through gaps, and timber moisture patterns. Step 3 is controlled external access only if roof condition and safety allow it.
Once on the roof, the inspection turns specific. Fixings, flashings, valleys, penetrations, ridge details, skylights, sheet laps, tile condition, gutter falls and downpipe discharge points are checked. A useful report then ranks the findings so the owner knows what needs immediate repair and what can be scheduled.
"Customer feedback cited by Cloud9 Roofing & Guttering notes an initial inspection with clear videos, helping owners see the roof condition and recommended work."
That last point matters. Photos or video reduce confusion, especially when the owner cannot safely access the roof. If an inspector cannot explain where water is entering, what material has failed, and what the repair path is, the inspection has not gone far enough.
Is a DIY roof check enough, or is a professional roof inspection safer?
No. A DIY check from a ladder or the ground can spot obvious issues, but SafeWork NSW guidance makes professional assessment the safer choice for full roof access.
A homeowner can do a useful low-risk scan. Look from the ground for lifted sheets, cracked tiles, rust marks, overflowing gutters, leaf build-up, stained soffits and interior ceiling changes. That kind of early observation helps you decide when to book an inspection.
The limit is access. SafeWork NSW says roof access should be planned from the ground where possible, and that condition, materials, fixings and safety mesh should be checked before access. Falls from heights remain the number one killer on NSW construction sites, and many serious incidents involve stepping on an unstable surface. If the roof is wet, steep, old, brittle or unknown, stay off it.
A good rule is simple: inspect with your eyes, not your feet. Binoculars, phone zoom and ceiling checks are reasonable. Walking the roof without the right controls is not.
How should you prepare for a roof inspection step by step?
Preparation is simple: gather past repair notes, clear site access, and list any leaks, overflow points, or storm dates for the inspector.
Step 1 is to collect the roof history. Note the roof material, approximate age, past leaks, previous repairs, insurance work, skylight installs, solar penetrations and recent storm dates. That short brief often saves time and helps the inspector trace repeat failure points.
Step 2 is site access. Unlock side gates, move cars if they block ladder or scaffold positions, and make sure pets are secure. If there is ceiling access, clear the manhole area indoors. If you know the home leaked during a certain wind direction or only during heavy downpours, mention that. Pattern-based clues are often decisive.
Step 3 is to leave the roof alone. A common mistake is hosing it down or clearing everything immediately before the appointment. Freshly moved debris can hide flow patterns, and a wet roof may reduce safe access options.
What defects do roof inspections find on metal roofs and tile roofs?
Inspectors most often find loose metal fixings, corroded flashings, cracked tiles, failed pointing, blocked valleys, and ageing gutter joints.
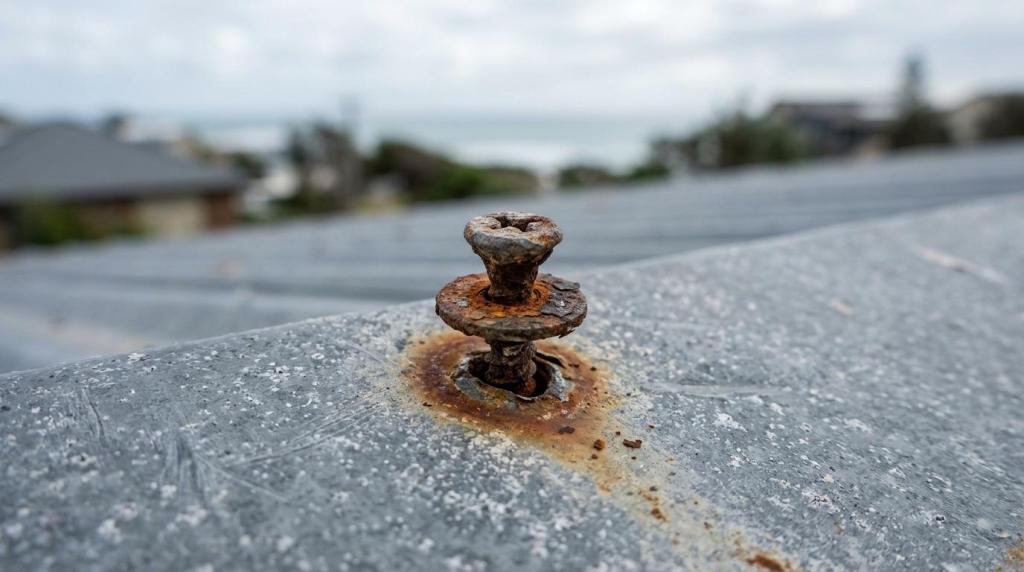
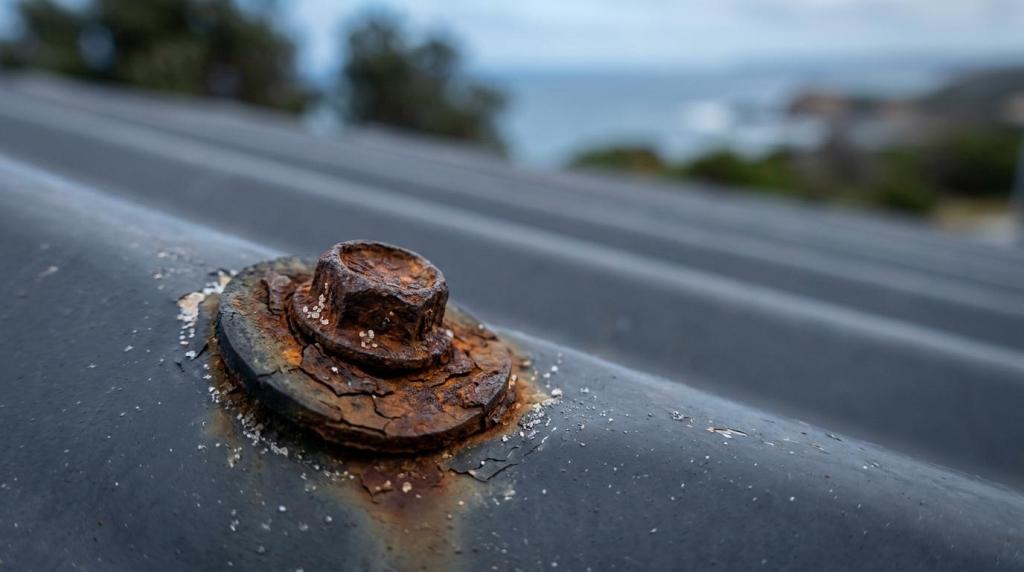
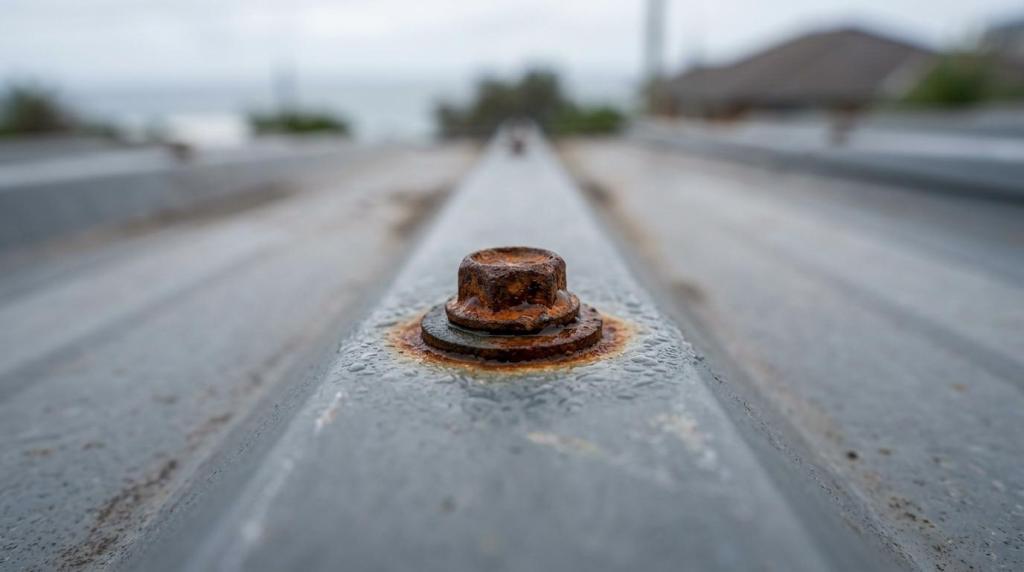
On metal roofs, attention usually centres on screws, washers, laps, penetrations and corrosion. Not every rust mark means replacement, which is another common misconception. Superficial surface oxidation may be manageable, while deep corrosion around fasteners, sheet ends or flashings can indicate a broader failure pattern. Inspectors also look for noise-related movement, lifted edges, and poor detailing around skylights or vents.
"Cloud9 Roofing & Guttering reports one Avalon Beach project required 1,500 roof screws to be replaced, a good example of how inspections can uncover widespread fixing fatigue."
On tile roofs, the usual problem list is different. Cracked or slipped tiles, brittle underlay, valley blockages, and failed ridge bedding or pointing are frequent findings. If an owner is weighing a future change from tile to metal, inspection data becomes even more useful. A metal roof can be far lighter, with Colorbond-type systems around 5 kg/m² compared with tile roofs around 60 kg/m², but the right choice still depends on framing, exposure, drainage design and long-term maintenance priorities.
Should you get a roof inspection before buying, selling, or renovating?
Yes. A roof inspection is useful before buying, selling, or renovating because it turns hidden roof risk into priced, scheduled work.
Before buying, an inspection helps identify costs that a standard visual property check may not fully capture. You want to know whether stains are historic or active, whether gutter overflow is a maintenance issue or a design issue, and whether the roof has isolated defects or system-wide ageing.
Before selling, the benefit is control. You can repair defects on your timetable, collect evidence of condition, and avoid a late-stage negotiation driven by uncertainty. Before renovating, a roof inspection becomes a planning tool. If you are adding a skylight, repainting, fitting solar or changing materials, the roof’s current condition affects sequencing, scope and budget. If the roof already has multiple water-entry points, decorative work first is rarely the smart order.
Can a roof inspection help with storm damage and insurance claims?
Yes. After BOM-level hail, damaging winds, heavy rain, or coastal surf events, a prompt inspection can support emergency repairs and cleaner insurance evidence.
BOM classifies severe thunderstorms by phenomena that include hail of 2 cm or more, damaging wind gusts of 90 km/h or more, tornadoes, or heavy rainfall that may lead to flash flooding. Those thresholds matter because roof damage is often localised and not always visible from ground level. A sheet edge can lift, a flashing can deform, or a tile can crack without causing an immediate leak.
If a storm has passed through the Northern Beaches, act while evidence is fresh. Note the date, take wide photos from the ground, keep any fallen roof pieces, and book an inspection before temporary symptoms disappear. No ceiling stain does not mean no claim-worthy damage. Wind-driven rain can enter briefly, dry out, and still leave future leak paths behind.
Some local contractors, including Cloud9 Roofing & Guttering, offer initial quotes within 24 hours, which is useful when a storm response needs quick triage and documentation.
What should you do after a roof inspection report step by step?
Start by ranking each finding as urgent, scheduled, or monitor-only, then match the remedy to the roof’s age, material, and pattern of defects.
Step 1 is triage. Active leaks, loose sheets, unstable ridge elements, exposed penetrations and badly blocked gutters go first. Step 2 is scope choice. Decide whether the report points to a small repair, broader restoration, or replacement. Step 3 is timing. Coastal roofs rarely improve with delay, so book urgent work promptly and place non-urgent items on a dated maintenance plan.
A simple way to read the report is to sort findings like this:
Urgent: active water entry, storm-loosened roof elements, unsafe access points, severe gutter blockage.
Scheduled: isolated flashing repairs, repointing, minor corrosion treatment, selected fastener replacement.
Monitor: early salt staining, cosmetic coating wear, low-level ageing with no current leak path.
If the same defect appears in multiple areas, treat it as a system issue, not a one-off patch. That is often the point where an inspection delivers its biggest value: it stops owners from paying for repeat repairs when the smarter move is coordinated remedial work across the whole roof and gutter line.